Friday, February 27, 2015

Delicious home made lemon goat cheese ravioli

If you have never had home made pasta this recipe will change your life! There's no going back after you have it for the first time, the dried up stuff from the grocery store will never due again and the best part is that it's not that hard to make. it can however be time consuming but I promise it's worth the effort. 
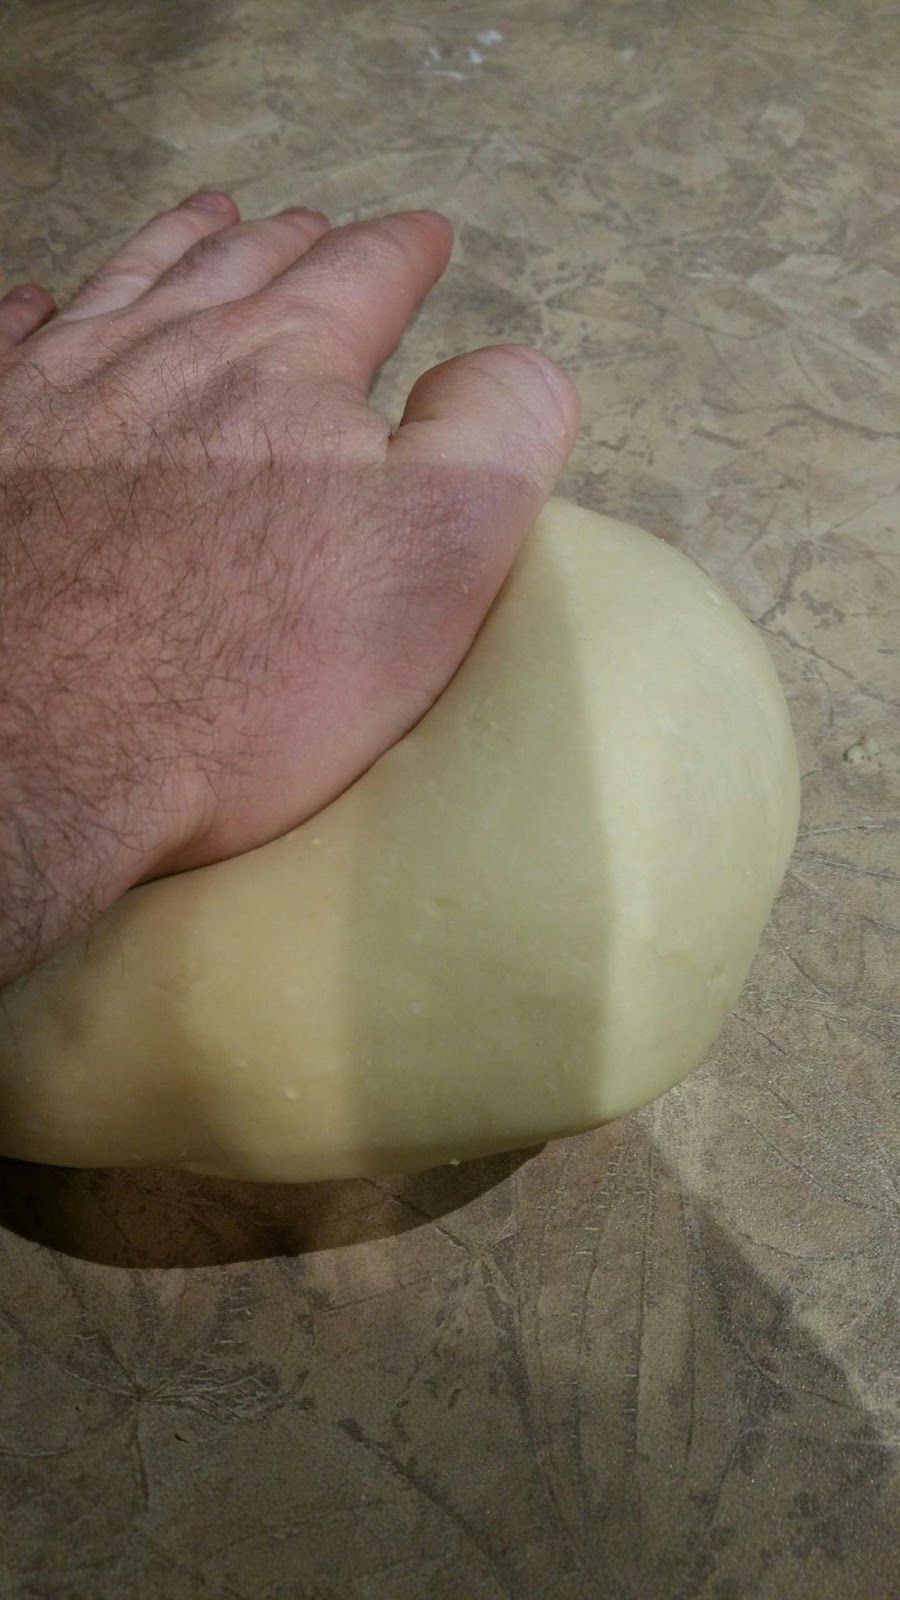
The dough recipe needs to be put through a pasta roller if you want to roll it with a rolling pin (or an empty wine bottle) you will need to add a little more water to get the dough a bit softer and easier to handle. It's much easier to make this in a food processor but if you dont have one, a mixing bowl or the counter will due. If you are making it on the counter make your flour into a pile, then press a hole into the top and add your wet ingredients. Using a fork mix the flour in slowly until it's combined enough to use your hands.

For the pasta dough you will need

2 cups of white all purpose flour
1/4 cup olive oil
2 eggs
3/4 cup of water
1 tsp salt

Blend everything in your food processor. Put the dough in a bowl and cover it with plastic wrap and allow it to sit for around 30 minutes. Cut dough into 4 balls and with a pasta roller or by hand roll as thin as possible. Make 2 sheets one for the bottom and one for the top, place your filling on the bottom sheet of pasta with a spoon about 2 inches apart, wet your fingers and make squares around the filling so that the pasta gets a good seal when you put the top on. Place your second sheet over your filling and press the top to seal packages. Use a knife or ravioli cutter to make squares. Bring water to a boil then gently drop in your ravioli into the boiling water and allow them to cook for 30  seconds to one min. Transfer to a bowl with cold water until your ready to add your sauce.

For the filling you will need

300 grams of goat cheese
1/4 cup cooked and drained spinach
1 egg
1/4 cup grated fresh parmesan cheese
The zest of 2 lemons
The juice of 1/2 a lemon
1/tsp salt
1 tsp cracked black pepper
1 tsp dried thyme
1 tsp dried oregano
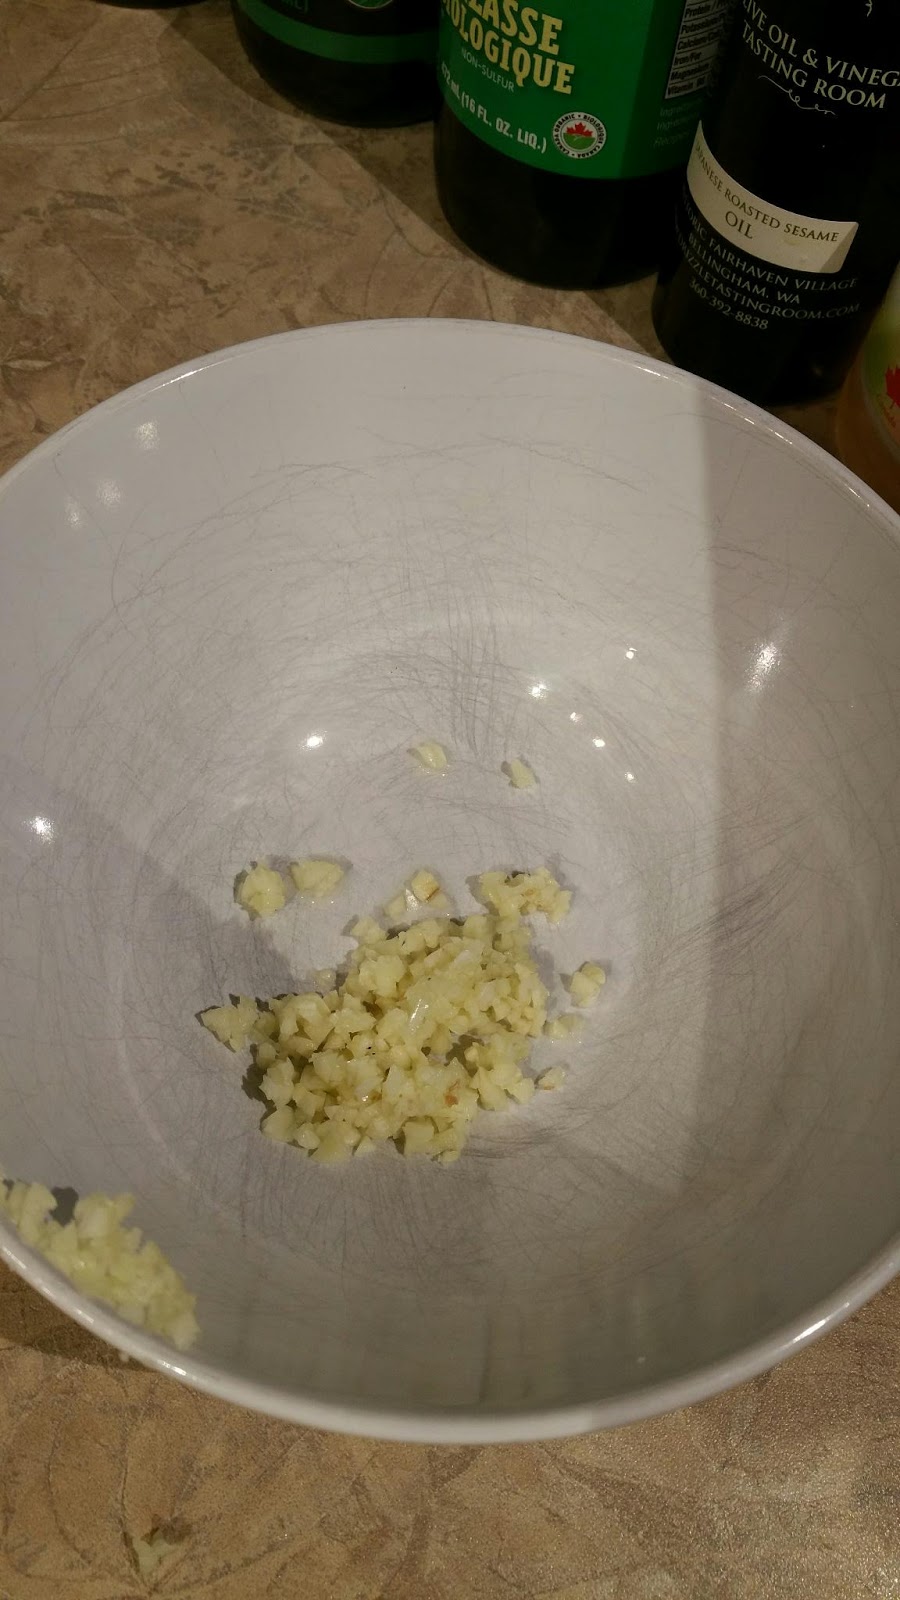
1 clove garlic chopped fine
Mix all of the ingredients well then place in fridge. The cheese will be easier to work with if it's chilled. You can leave it in the freezer for a bit as well but don't overdue it or you will have to wait until it thaws.
I don't like to make things complicated I have learned that simple is usually better so for the sauce I used some booze and lots of butter.
Here's what you need
1/4 cup butter
1 clove garlic
1/2 cup white wine
1/2 cup good gin
Optional 2 tomatoes diced (i didn't use tomatoes in mine.
What to do with all that stuff
Melt the butter on medium heat. Add garlic and wait maybe 30 seconds add everything else and allow to cook down for about 2 min add your pasta and serve.

Wednesday, February 25, 2015

A twist on vegetarian sushi

I'm not really going to post a recipe because you could really do anything with vegitarian sushi, Im hoping this will inspire you to come uo woth some of your own creations. 

remember it's pretty much just a salad rolled in seaweed and rice. I think most sushi is kind of boring, don't get me wrong I love sushi, I could eat it 7 days a week but every time I order a few different rolls they all pretty much taste the same, I think to myself this would be amazing if there was a tangy or acidic and so on.

 So instead of going out to one of my favorite sushi places ( http://zipang.ca or http://www.hanasushi.ca ) I decided to give it a go myself, and I have to say it turned out pretty amazing. Because it's not easy to find sushi grade fish in Calgary and I'm hobbling around on crutches with a broken ankle right now, I decided to go with vegitarian sushi, Here's what I did.

So what do you need?
You need roasted  Nori, this can be found at an Asian market such as T & T Market in Calgary http://www.tnt-supermarket.com/en/ or you could also order it online. I would make sure it's roasted as the roasting process takes away some of the fishy flavor seaweed tends to have. You need a sticky rice I used red rice because I wanted healthy sushi and red rice is a full grain complex carb full of fiber but you could use a starchy brown rice or of course sushi rice is always fantastic. I would say you should get a bamboo rolling matt if you want to have nice tight rolls with a good shape (remember making things look yummy is half the battle) and most importantly you are going to need some veggies to fill it up with!! To make your rolls a little different I suggest instead of using plain old boring mayonnaise you could add dill and lemon to your mayonnaise or take the mayo out and substitute it with yogurt. I have a collection of some really intresting flavored olive oils and balsamic vinager so for one roll I mixed 

1 tsp white coconut balsamic vinager
1 tsp white pinapple balsamic vinager
2 tsp sorrano chili olive oil 

I soaked some Alf alfa sprouts in this mixture. The roll from first layer to last was 1 full sheet of Nori red rice mango cucumber avacado and the alfalfa mixture. 

The second sauce I made was 

1 tsp pinapple balsamic vinager
2 tsp roaster sesame olive oil
1 tsp honey
1 tsp organic soy sauce

I wrapped the roll with the same things inside Nori mango cucumber red rice and the alfalfa. I also did some with shredded carrots, beets, red peppers, and lettuce. The point is get inspired ! Don't he afraid to experiment and have fun :)

Friday, February 20, 2015

Sate peanut sauce

This sauce can be used as a delicious dip or put on any protein as a glaze.
Your going to need -
4 tbsp peanut butter
3 tbsp soy sauce
1 tbsp rice wine vinager
2 cloves of minced garlic
1 tbsp molasses
1 tbsp hot water
2 tbsp sesame oil
1 tbsp sugar
1 tbsp honey
1 tsp to 1 tbsp of Sriracha chili sauce depending how hot you like it
Whisk your ingredients together and enjoy !

Simple vegetarian salad rolls

Salad rolls are a fresh light side great with any meal !
You will need-
Rice noodles
Rice wrappers
Cucumber
Thai basil or regular basil
Lettuce 
1 plate with warm water to dip your rice  wrappers in
1 clean cutting board
Start by boiling your rice noodles it won't take long as soon as they are soft they are done (don't be afraid to take one out and try it if your not sure)
When they are cooked rinse in cold water and allow them to drain
Slice your cucumber into thin slices
Shred lettuce
Tear basil leaves from stock
Dip your wrapper in the warm water (it will still be stiff when you put it on your cutting board or counter put some rice noodles cucumber and basil on one side of the wrapper leave about an inch from the back and an inch on each side. Fold the back over your filling once then fold the sides in and continue to roll until you have a roll! I know say roll one more time right ! Take a look at the pics I took to make it a little more clear. 
Click the link for a fantastic dipping sauce!
Sate peanut sauce  http://ezrasfamilyrecipes.blogspot.com/2015/02/sate-peanut-sauce.html

Ezra's spicy thai inspired bbq sauce

Thailand is one of my favorite places on the planet. It's full of smiling generous people and has vibrant delicious cuisine. This is a versatile bbq sauce you can use on any meat or baked tofu.

2 tbsp ketchup
1 tbsp honey
1 tsp soy sauce
2 cloves garlic
1 tbsp red thai curry
1 tbsp sugar
1/2 lime juice

It's best to let this sauce sit for 24 hrs to let the flavors come together. That being said don't worry if you just can't wait!

Thursday, February 19, 2015

My amazing dutch oven beer bread

Recently I discovered cooking bread in a Dutch oven, it helps to develop a crunchy chewy crust. What is a Dutch oven you ask? Essentially it's a big cast iron pot with a tight fitting lid. they were originally used when people cooked on an open flame, or in their home on the hearth. Cast iron is great for cooking because it has a more even heat inside. and because there is a lid it creates a steamy environment which is how you get a nice chewy crispy bread. In commercial bakeries they use ovens that inject steam to get the same effect.

 For this recipe you are going to need.....
1 330 ml bottle of dark beer (I used Guinness)
1/2 cup of oatmeal flour (it's just oatmeal I blended up till it was a grainy flour)
2 1/2 cups of all purpose white flour
1 cup spelt flour
1 1/2 teaspoon salt
1 tablespoon molasses

What to do-

Mix all of your dry ingredients in a large bowl (don't forget the mixture will double during fermentation) add your wet ingredients and mix until you have a ball. dust the top with some flour and try and dust the sides of the bowl so it doesn't stick to the sides as much as it rises. Cover with plastic wrap and then place a towel over your bowl to give the yeast a nice warm place to grow. Let the dough ferment for 15 to 24 hours (mine sat for 24 hrs) generously dust the top of the bread with cornmeal especially around the edge so that as you push the dough down the cornmeal coats the sides. Run your hand between the bread and bowl gently allowing the cornmeal to coat the sides once the bread is not stuck to the bowl anymore cover with the towel and allow it to re rise for 2 hours, after 1 hour set your oven to 475 and place your dutch oven in the middle of the oven. Allow the oven to heat up for 1 hour. Take the Dutch oven out of the oven carefully and gently dump your bread into the Dutch oven. Try not to handle the dough to much as you will pop all of the big bubbles that have formed inside the dough. Cover with your dutch oven lid and bake for 30 minutes. After 30 minutes take the lid off and allow it to bake for another 5 min. Take the dough out and allow it to cool for a few hours to get a really nice crust.
Don't stress of everything doesn't go exactly as planned!! Don't be afraid to play woth the ingredients. And don't be afraid to mess it up. Cooking is supposed to be fun!! Also you could make this without the Dutch oven but you would probably end up with a loaf that is a little flatter and you won't get a nice crispy chewy crust.